 Here's another rag quilt bag I made back in October. I think I forgot to post it. This was a special order for someone and the fabric was upon request. Cute combo! I'm charging $25 for this size (9 square front). Email me with questions!
 Here's another rag quilt bag I made back in October. I think I forgot to post it. This was a special order for someone and the fabric was upon request. Cute combo! I'm charging $25 for this size (9 square front). Email me with questions!
 fa-la-la-la-la....la, la, la, la.....I couldn't resist the tune:) Well, 576 fabric strips later...I finally finished my 1st rag wreath! Actually, I should multiply that by 10 more that I cut for the wreath class last week- hence the late post!! Needless to say, I am pleased with the outcome and from the feedback I've received, so was everyone else who made one. It was fun to see the variety as several ladies chose their own fabrics:)
 Unfortunately, I do not get to personally enjoy the one I made. BUT, the friend I gave it to was very happy with it! The great thing about this fabric is that it can be used year-round for anyone who has decor to match! I love the subtle greens and the deep red really 'pops'. I'm actually in the process of making another one to give to my mom.
 Choose a section to begin with and work your way one row at a time from the 2 inside, up to the 2 outside rows. After finishing a row, fold the strips down to make it easier to continue to the new row.
 I took my free time this weekend to work on a fun project that I've been itching to finish! I covered 3 canvases with adorable little girl fabric for Isabella's room! She recently moved out of the crib and into a 'big girl' toddler bed (therefore freeing up the crib for Josiah)! How weird to not see a crib in the corner anymore, after being there for 4 years!
 I love this dainty Tea & Sweets fabric! This busy pattern didn't call for much, but I wanted to add a little dimension. I used some of the SU crocheted fleurettes (on the Clearance Rack, here)
 with Sherbert designer buttons (click here- also on Clearance Rack!) in the middle, and draped ribbon in between. Check out the cute rick-rack from the retired Fairy Tales ribbon bundle (previously on the Clearance Rack).
 This was simple enough to embellish. I continued the twisted ribbon draping and attatched two fabric flowers on each end.
  They were made from scallop circles with my Big Shot. I folded several and hot-glued them together.
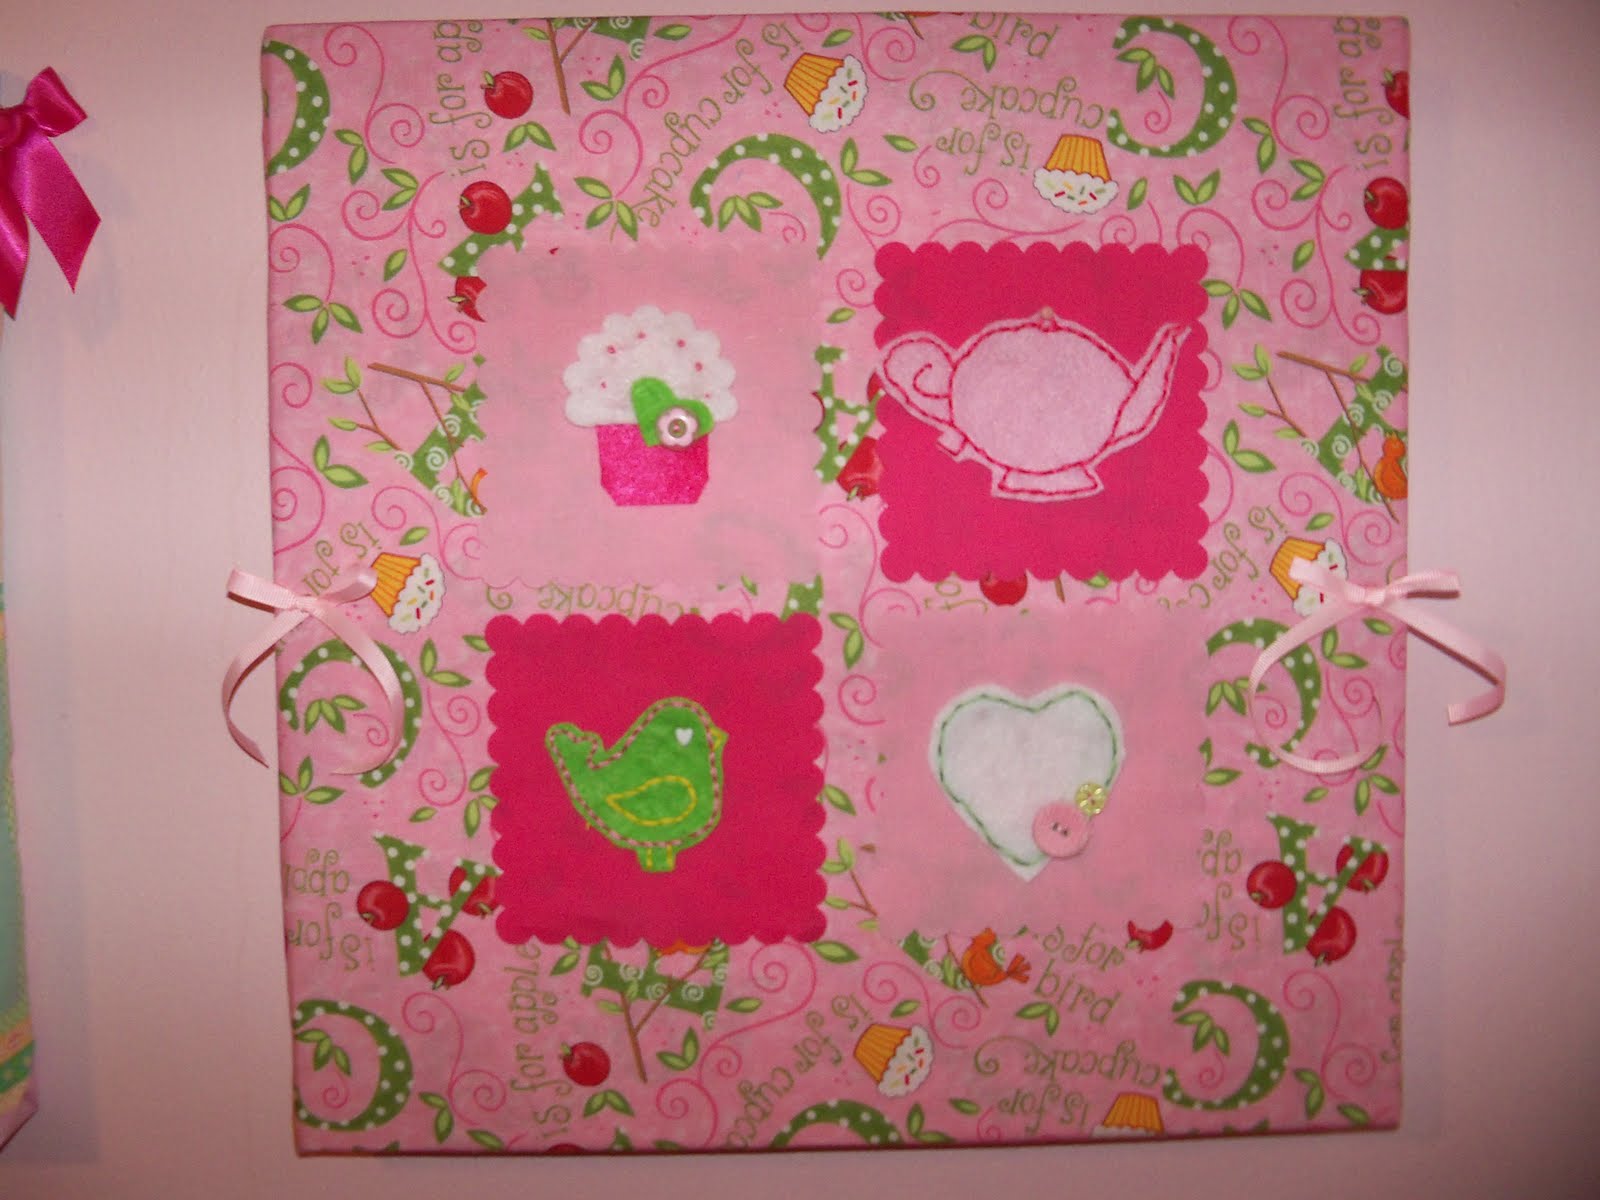 The fabric is a busy pattern, but it's small, so nothing stands out, specifically. I decided to break it up with the scallop squares and a felt object in each. I made the cupcake & heart free-hand. The bird and teapot were made using a K&Co stencil pattern kit, which I dot-to-dot traced on a piece of felt. I then used embroidery floss to hand-stitch the images and then cut them out & glued each to a square.
 I love the effect! I actually just picked the kit up off of a clearance end cap at a local craft store. I wasn't even sure what I would do with it, but the little bird caught my eye. How thrilled was I to discover the teapot included as well! I added the ribbon bows at the last minute. I think they sort of tie in with the other 2 pictures.
 I re-did the fabric flower brooch from the post below. I wasn't happy with the 'floppiness' of it. Depending on the fabric, you will need several layers of each flower piece to make it look right, which is one of the changes I made. I also decided to add an antique brad to the center, which added alot, in my opinion. Here's the die cut ingredients layered to make this brooch: 2 of the large flowers from the Island Floral Bigz die, followed by 2 tulle circles from the Circle #2 die (the large), then 2 scallop circles, and topped off with a small flower- also from the Island Floral die. Before inserting the brad, I slightly frayed the edges of each die cut with my fingers. Lastly, I attached the pin to a small piece of felt on the back, using hot glue.
 Here are a few cute Christmas projects. They're simple yet festive!
 Here's my 1st attempt at a rag quilt! I've made several of the rag quilt bags, so I thought I would give the quilt a try. It was basically the same- just more squares. And actually, after finishing, I wish I would have added even more squares! If you ever try this, keep in mind that if you don't pre-wash your fabric, some of the pieces might shrink during the wash/dry rag process. Plus, the scallop edges kind of curl up more and I just think the whole thing kind of looks smaller. I made this one 6x6, so it's small and could be considered a lap quilt. I used Beatrix Potter flannel fabric + several others including cotton, chenille, & fleece.
  They all worked great together and give the quilt lots of texture. Here's some basic instructions and some pics of the assembling process.


 Well, here is my 2nd attempt at the Big Shot rag quilt purse. Try to overlook the picture quality. I had to take this on my way out the door to actually deliver the bag! I used the scallop squre die + Big Shot to cut the squares, which are a little less than 5". I think this one definitely turned out better than my first, so I was pleased! This adorable little bag is going to a sweet little 3 year old girl as her birthday present. I thought the fabric was perfect for a little girl & I actually have everything cut out to make Isabella an identical bag! I bought the fabric in a bundle, so all of the pieces coordinate. And what a value- the bundle only cost me $6 & I cut 2 bags from it! As you can see from the picture, I used 6 different fabrics, which all coordinate.
  One reason this bag turned out better than my first is because I used cotton batting instead of polyester. I also used a SU gluestick to glue the batting between 2 fabric pieces. This made sewing the squares much easier because everything stayed in place. The other difference in this bag as opposed to my first is that I intentionally left the scallops on the inside, leaving the outside with neat squares. I actually really like that look better. And of course this bag is made up of 4 squares front and back, instead of 9. Let me know what you think!
 I think these make great gift sets! They can even be attached and used as embellishment on a card! The brooches can also be attached to a handbag or other clothing article.
 I was so excited to make these adorable fabric hair barrettes! I've seen various versions of these on different blogs. I was recently asked to come up with an easy craft project for our Awana TNT girls group at church. I immediately thought of these barrettes & this is my first attempt. I used a combination of scallop circles from sizzix SU Baskets & Blooms & Scallop Circle #2 dies. The circles are each hot glued together and kind of scrunched up, so they don't lay flat. After allowing time to dry, I used my paper piercer to poke a hole in the center and then inserted a brad. The final touch was pulling the edges of the fabric to slightly fray it, giving it a 'shabby chic' look.


 Well, I finally got the opportunity to play around with the Big Shot for a sewing project! My grandmother recently gave me her sewing machine & I was excited about trying it, although I have no sewing experience! Through the blogging world, I kept hearing that the rag quilt purses were so easy and no big deal! Well, they were basically right!


